
How Long Does Industrial Design Take? A 2026 Timeline Guide

Table of Contents
How Long Does Industrial Design Take? Breaking Down the Real Timeline
The Product Design Timeline: Phase-by-Phase Estimates
Discovery and Research Phase
Concept Development and Sketching
Detailed Design and Engineering
How Long Does Product Prototyping Take?
Why Prototyping Takes Longer Than the Build
When to Stop Prototyping
What to Include in a Product Design Brief Template
Turning the Brief Into a Schedule
Contingency and Scope Rules
Your Product Development Checklist for Staying on Schedule
What Speeds Up or Delays an Industrial Design Project
Frequently Asked Questions
Last Updated: October 5, 2026
How Long Does Industrial Design Take? Breaking Down the Real Timeline
Ask ten people how long does industrial design take and you'll get ten different answers. That's because the question hides two very different timelines: how long an industrial design degree takes, and how long a real product design project takes from brief to production.
A full industrial design project typically runs six to eighteen months from first sketch to production-ready files. A bachelor's degree in industrial design, by contrast, takes four years. Confusing the two is a common source of bad planning.
Below, we break down each phase, give realistic time ranges, and show you what actually speeds a project up or drags it out.
Key Takeaway Two timelines share one question. A design degree takes about four years. A design project takes six to eighteen months. Know which one you're planning before you build a schedule.
The Product Design Timeline: Phase-by-Phase Estimates
A typical product design timeline moves through three main phases: discovery and research, concept development, and detailed design and engineering.
Here's how the phases stack up for a mid-complexity consumer product:
Phase | Typical Duration | Main Output |
Discovery and research | 2-6 weeks | User needs, market brief, constraints |
Concept development | 4-10 weeks | Sketches, foam models, chosen direction |
Detailed design and engineering | 8-16 weeks | CAD files, drawings, production specs |
Prototyping and testing | 4-12 weeks | Working prototypes, test data |
Production handoff | 4-8 weeks | Tooling-ready files, supplier alignment |
The ranges are wide on purpose. A simple furniture piece sits at the low end. A regulated medical device sits at the high end, often much higher.

Discovery and Research Phase
Discovery is where you define the problem before you solve it. This phase usually takes two to six weeks.
During discovery, the team interviews users, studies competitors, and maps the constraints that will shape every later decision. Manufacturing limits, cost targets, and regulatory needs all get logged here.
The output is a clear brief: who the product is for, what it must do, and what it can't do.
Concept Development and Sketching
Concept development turns the brief into rough ideas, then narrows them down. Expect four to ten weeks.
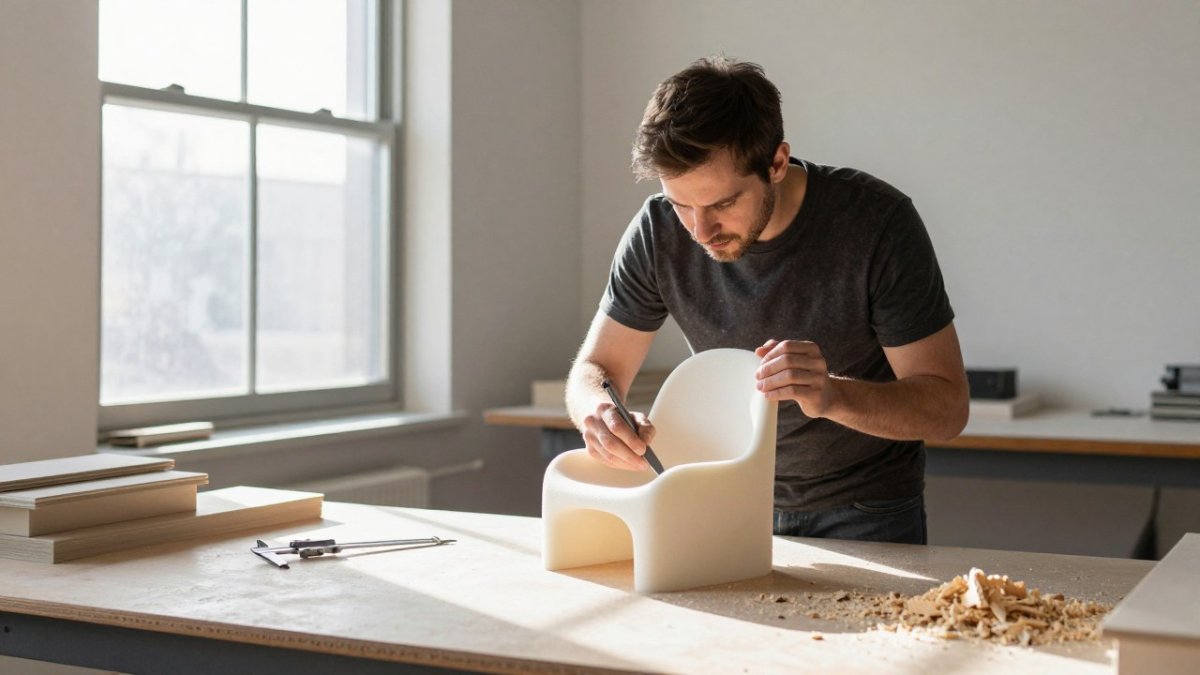
Designers sketch dozens of directions, build quick foam or cardboard models, and test how each concept feels in the hand. Human-centered design matters most here. A product that looks good on paper can fail once a real user picks it up.
By the end of this phase, you have one or two concepts worth developing further.
Detailed Design and Engineering
Detailed design is the longest phase, running eight to sixteen weeks. This is where the chosen concept becomes manufacturable.
Engineers build the CAD model, select materials, and work through how each part will actually be made. This is also where design for manufacturability gets locked in. If a feature can't be produced at a sensible cost, it gets changed now, not after tooling.
How Long Does Product Prototyping Take?
Product prototyping usually takes four to twelve weeks across all rounds, but the number that matters is the calendar time between rounds, not the build time. Most projects run two or three prototype rounds, and each round has three clocks running at once: build time, test time, and revision time.
Here is how the rounds typically break down for a mid-complexity consumer product:
Round | Typical Build Time | What It Proves | Common Method |
Proof of concept | 1-2 weeks | The core mechanism or idea works at all | 3D-printed parts, cardboard, off-the-shelf components |
Functional prototype | 2-4 weeks | It works in real use with real materials | CNC-machined or urethane-cast parts, working electronics |
Pre-production prototype | 2-6 weeks | It can be manufactured at target cost and quality | Tooling-representative parts, production-intent materials |
Why Prototyping Takes Longer Than the Build
The build is rarely the bottleneck. The revision time between rounds is. After each round you need to test, collect feedback, decide what to change, update the CAD, and re-order parts. That loop commonly adds one to three weeks per round on top of the build itself. A three-round project with two-week builds can easily consume ten to fourteen weeks of calendar time.
Several concrete factors drive that number up or down:
Part sourcing lead times. Off-the-shelf components ship in days. Custom-machined or cast parts can take two to four weeks per order, and re-ordering after a revision restarts that clock.
Electronics and firmware. If the product has electronics, firmware development often runs in parallel with mechanical prototyping and can become the critical path. A working enclosure with non-working firmware is not a functional prototype.
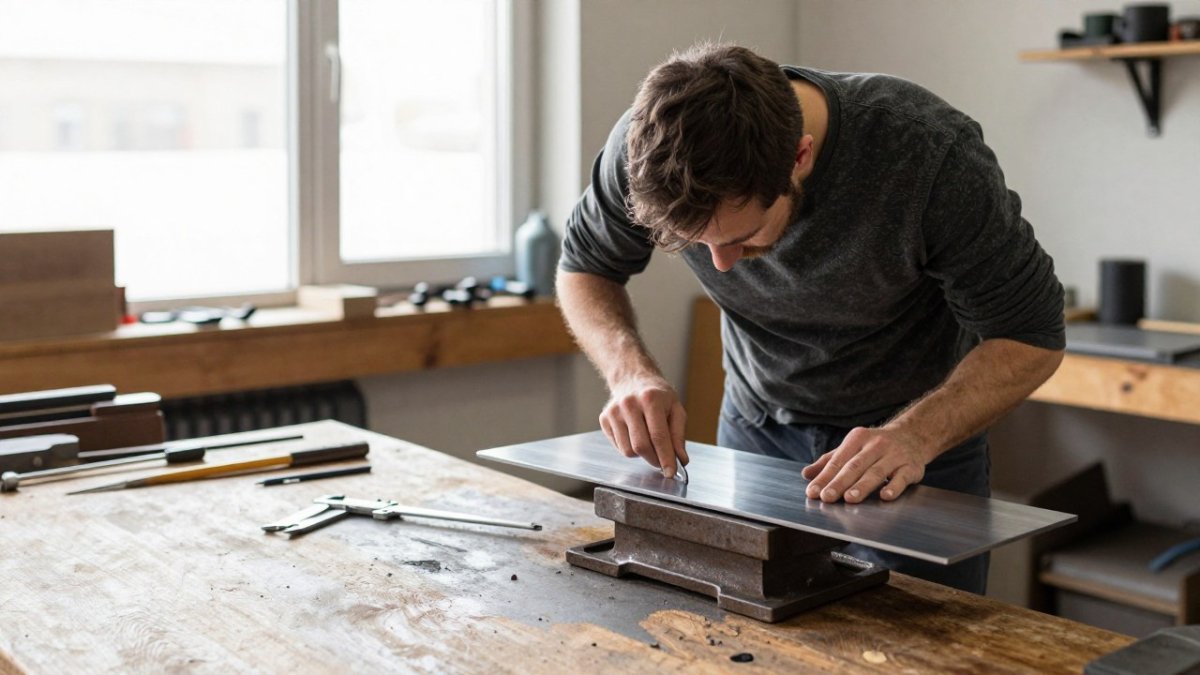
Tooling decisions. Soft tooling (urethane casting, CNC) is fast and cheap for low volumes but does not represent final production. Hard tooling (injection molds) is slow and expensive but is the only way to validate production cost and quality. Deciding when to cross that line is a schedule decision, not just a budget one.
Test scope. A drop test or a hand-feel check takes days. Environmental, safety, or regulatory testing can take weeks and may require an accredited lab.
Pro Tip Schedule prototyping backward from your test dates, not forward from your build dates. Book the test lab and the user-testing sessions before you order parts, then work backward to the build start. If the dates do not line up, cut a round rather than compress a test.
When to Stop Prototyping
The goal is not a perfect prototype. It is a prototype that answers the open question. Once the remaining unknowns are manufacturing cost and quality, you have moved past prototyping into production preparation, and more prototype rounds will not resolve them. Recognizing that transition is what keeps a project inside its timeline instead of looping indefinitely.
What to Include in a Product Design Brief Template
A brief is not just a form to fill out. It is the estimating document that sets your schedule. The fields below are the ones that actually move a timeline, and each one maps to a phase you can put a date on.
Product Design Brief Product name: ______ Problem it solves: ______ Target user: ______ Key features (top 3): ______ Must-have constraints: size, weight, materials, cost target Regulatory needs: ______ Target launch date: ______ Budget range: ______ Success metric: ______
Turning the Brief Into a Schedule
Once the brief is filled, you can estimate each phase and assign it a deadline. Work backward from the target launch date. A common pattern for a mid-complexity consumer product looks like this:
Milestone | Typical Lead Time Before Launch | Approval Gate |
Brief signed off | 9-12 months | Stakeholder sign-off on scope and constraints |
Research complete | 8-11 months | Sign-off on user needs and market brief |
Concept direction chosen | 6-9 months | Sign-off on one direction, with rationale documented |
Detailed design frozen | 4-6 months | Sign-off on CAD, materials, and bill of materials |
Prototype rounds complete | 2-4 months | Sign-off that open questions are answered |
Production files released | 1-2 months | Sign-off on tooling-ready files and supplier alignment |
Each approval gate is a decision point, and each one has a cost if it slips. A gate that takes two weeks instead of two days pushes every downstream milestone by the same amount. That is why the brief should name who owns each gate before the project starts.
Contingency and Scope Rules
Build contingency into the schedule, not into the end. A common approach is to reserve ten to twenty percent of the total timeline as buffer and protect it from scope changes. If a new feature is requested mid-project, it comes out of the buffer or out of scope, not out of the launch date.
Watch Out A brief that changes after the concept direction is chosen is a scope change, not a clarification. Treat it as one. Every mid-project scope change should trigger a schedule and budget review, because the cost of a change rises sharply once CAD and tooling work has begun.
Key Takeaway The brief is the schedule's foundation. Fill every field, name the owner of each approval gate, and reserve contingency up front. A complete brief is the cheapest schedule insurance you can buy.
Your Product Development Checklist for Staying on Schedule
A product development checklist turns a vague timeline into tracked tasks. Use this one to keep each phase moving:
Write and approve the design brief
Complete user and market research
Sketch and test at least three concepts
Select one direction and document why
Build the CAD model and bill of materials
Review design for manufacturability
Run the first prototype round
Test with real users
Revise and run a second prototype round
Confirm regulatory requirements
Prepare production files
Check off each item before moving on. Skipped steps resurface as delays.
What Speeds Up or Delays an Industrial Design Project
Several factors decide whether a project finishes in six months or stretches past a year. Knowing them lets you plan around the risks instead of reacting to them.
What speeds things up:
A clear, signed-off brief before work starts
Fast feedback loops from decision-makers
Fewer prototype rounds because concepts were tested early
A design partner who understands manufacturing from day one
What delays things:
Scope changes mid-project
Slow approvals and unclear ownership
Regulatory requirements discovered late
Designs that ignore manufacturing limits
Product complexity is the biggest single factor. A simple household item and a regulated medical device can differ by a year or more. That's why phasing work in stages can allow clients to adjust scope without starting over.
Watch Out Discovering regulatory requirements late is one of the most expensive delays. For medical or safety-critical products, confirm the rules before detailed design begins, not after. Redesigning a locked concept for compliance can add months.
If you want a partner who builds manufacturing realities into the design from the start, that's exactly where 2B Studio works. We handle design-driven product development and prototyping, and we phase projects so you're never locked into a full commitment before you see results.
Frequently Asked Questions
How long does it take to go from a product idea to a working prototype?
Most industrial design projects take 4 to 8 weeks to reach a functional prototype, depending on complexity. Simple products like furniture or basic consumer goods can move faster, while medical devices or electronics with custom circuit boards often take 10 to 12 weeks. The concept development and sketching phase typically consumes 2 to 3 weeks, followed by CAD modeling and prototyping. Having a clear product design brief and defined user needs before starting can cut weeks off the front end of the process.
What factors can delay an industrial design project?
The most common delays come from late-stage design changes, unclear requirements, and manufacturing constraints discovered after a design is finalized. Regulatory hurdles for medical devices or products requiring UL certification can add months. Supply chain issues for specialty materials, slow feedback loops from stakeholders, and scope creep also push timelines. Projects that involve extensive user testing or multiple rounds of prototyping tend to run longer. Locking down user needs and manufacturing requirements early prevents most of these delays.
How can I shorten an industrial design timeline without sacrificing quality?
Start with a detailed product design brief template that captures user needs, target cost, and manufacturing constraints upfront. Involve your manufacturing partner during concept development so designs are production-ready from the start. Use a product development checklist to track milestones and catch issues early. Phased engagements, where you approve each stage before moving forward, reduce rework. Finally, choose a design partner experienced in your product category; familiarity with materials and processes eliminates the learning curve that slows first-time projects.
Does industrial design take longer for complex products like medical devices?
Yes. Medical devices and other regulated products typically add 2 to 6 months to the industrial design timeline. The design process itself may take 8 to 12 weeks, but FDA clearance, biocompatibility testing, and documentation requirements extend the overall schedule. Products with custom electronics or moving parts also require more prototyping cycles. For these categories, building regulatory review time into your product design timeline from day one prevents surprises and keeps the project on track.
The timeline question rarely has one clean answer, because every product carries its own complexity. What you can control is how you plan, phase, and document the work. 2B Studio turns concepts into market-ready products through design-driven development, prototyping, and a focus on manufacturing, user experience, and the marketplace. Say hi and let's map your timeline.
Say hi

Comments