
A Step-by-Step Guide to the Industrial Design Process

Last Updated: November 19, 2026
Quick Summary
The industrial design process moves a product from a rough idea to a manufacturable design through research, concept work, prototyping, and engineering handoff. Each stage ends with a concrete deliverable you can review and sign off on, from a signed-off requirements brief to a tested prototype and production-ready drawings.
Discovery should produce a written problem statement everyone signs off on before sketching begins.
Vague requirements are the top cause of late-stage redesigns, so lock budget, timeline, and constraints early.
Generate many rough concepts, then cut hard rather than polishing one idea too early.
Run one DFM review at concept freeze and a second after detailed engineering.
Add buffers at every phase boundary rather than one large buffer at the end.
Ready to move from concept to production?
2B Studio guides your product through design, prototyping, and manufacturing handoff.
Table of Contents
What the Industrial Design Process Actually Produces
The industrial design process steps move a product from a rough idea to a manufacturable design through research, concept work, prototyping, and engineering handoff. Each stage can end with a concrete deliverable you can review and sign off on.
At 2B Studio, we treat those deliverables as the real product of early design. Sketches are nice. A signed-off requirements brief and a tested prototype are better. A 2026 market outlook on industrial design and engineering technology points to rising expectations for speed and transparency in this work. That matches what we hear from teams: they want to know what they get and when.
Below, we break down each phase, what it should produce, and where projects usually go wrong.
Research, Discovery, and Defining the Target Audience
Discovery answers one question: who is this product for, and what problem does it solve? Skip it, and every later decision becomes a guess.
A common mistake is starting with sketches. Designers love to draw. But drawing before you understand user needs wastes time you will spend redrawing later.
Good discovery work includes:
User interviews with people who match your target audience
Competitive teardowns of products already on shelves
Site visits to see how and where the product gets used
A written problem statement everyone signs off on
Project Parameters: Requirements, Constraints, and Deliverables
Project parameters are the fixed rules of the build: budget, timeline, materials, certifications, and manufacturing methods. Lock these early.
Write them down as a product requirements list. Include design constraints like size, weight, and power. Then list what each phase must deliver.
Watch out: vague requirements are the top cause of late-stage redesigns. "Make it feel premium" is not a requirement. "Use brushed metal and no visible fasteners" is.
From Sketches to Industrial Design Concepts
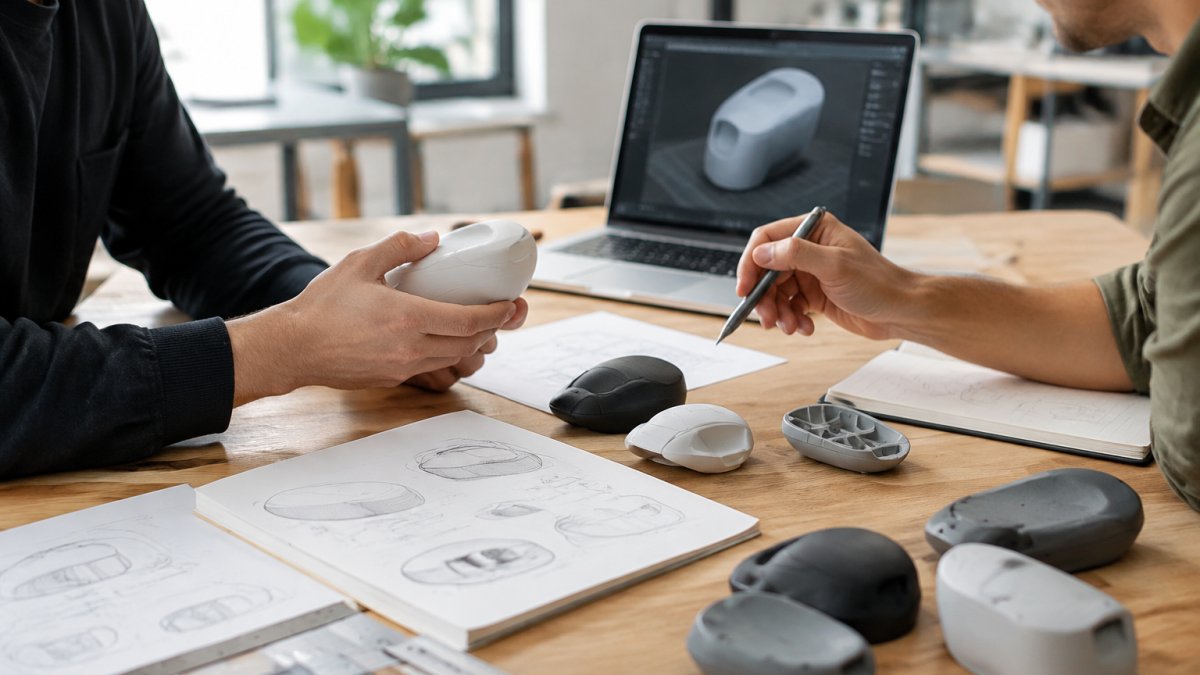
Industrial design concepts are the candidate designs that solve your requirements, usually explored through many rough sketches before narrowing to a few refined directions.
Autodesk Education Experiences
Volume matters here. Teams that generate many concepts, then cut hard, end up with stronger designs than teams that polish one idea too early.
Sketching, Rendering, and Visual Exploration
Sketching is fast and cheap. A designer can explore twenty directions in a day. Rendering adds realism so stakeholders can react to color, finish, and form.
This visual exploration phase should cover:
Form and silhouette options
Material and finish studies
Rough proportion checks against the requirements list
Quick 2D layouts before any 3D modeling
Concept Review, Selection, and Refinement
Concept selection is where the team picks the direction to develop. Use clear criteria, not gut feel alone.
Score each concept against your requirements. Weight the criteria by importance. Then discuss the scores as a group.
The chosen concept moves into concept development: refined 3D modeling, mechanical design, and detailed drawings. This is also where industrial design concepts meet engineering reality.
Industrial Design Prototyping and Usability Testing
Industrial design prototyping builds physical models so you can test form, fit, and function before committing to tooling. Test with real users, not just the team.
Prototypes range from rough foam models for shape checks to working units for function tests. Each one answers a specific question.

Usability testing shows where users hesitate, fumble, or misread the product (Usability (User) Testing 101). For a deeper walkthrough, see our guide on how to run usability testing for physical products. If you need the full build sequence, our article on how to prototype a physical product successfully covers it step by step.
Accessibility and inclusive design belong in this phase too. Test with users of different hand sizes, strengths, and abilities.
Design for Manufacturing: Engineering the Path to Production
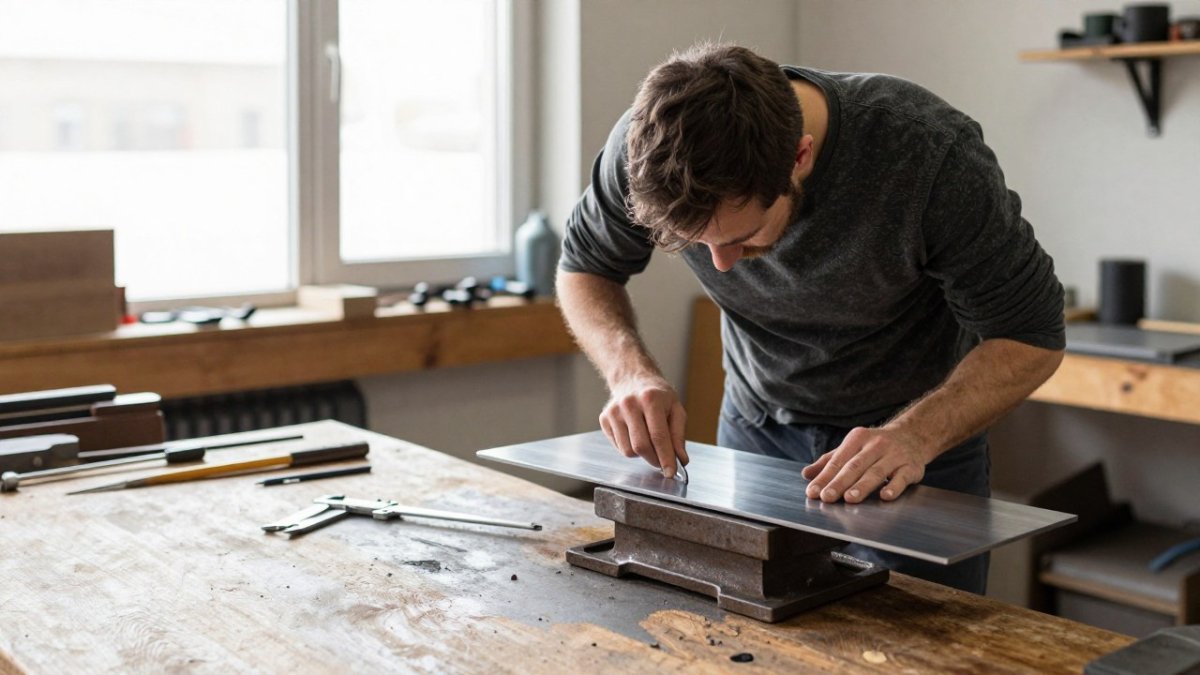
Design for manufacturing, or DFM, is the practice of shaping a design around how it will actually be made. It cuts cost and defects before tooling starts.
DFM is a review, not a single meeting. Run it as a structured pass with a fixed checklist, a named owner for each item, and a written disposition (accept, change, or defer with a reason).
A working DFM review covers:
Part count and consolidation. Can two brackets become one molded part? Fewer parts usually means fewer fasteners, less assembly labor, and fewer failure points, but it can raise tooling complexity. Note the trade-off rather than assuming fewer is always better.
Tolerances matched to process capability. A tolerance tighter than the process can hold reliably drives scrap and rework. Ask the intended supplier what their process actually holds before locking dimensions.
Material and process fit. A material that suits injection molding may not suit thermoforming or upholstery. Confirm the material, finish, and process are compatible before the design hardens.
Draft, wall thickness, and radii. Molded parts need draft for release and uniform walls to avoid sinks and warpage. These are cheap to fix in CAD and expensive to fix in steel.
Assembly sequence and fastener access. Can a driver reach every fastener? Does the order of assembly trap a part? Walk the build in sequence, not just the finished model.
Tooling and fixture constraints. Confirm the design fits the intended mold, press, or fixture envelope, including any side actions or lifters the geometry requires.
Serviceability and repairability. If a wear part fails, can it be replaced without scrapping the assembly? This overlaps with lifecycle planning and is easier to design in now.
A 2023 design case study on transferring design processes and prototyping into industry shows how early process decisions shape the final result. Getting this right protects your production readiness and your margin.
Watch out: DFM reviews that happen after tooling quotes are locked tend to become change-order negotiations rather than design improvements. Bring manufacturing input in before the concept is frozen, not after.
Our design for manufacturing how-to guide goes deeper on the review checklist. If you want a second set of eyes on a design headed to tooling, contact 2B Studio to schedule a DFM review.
Building a Realistic Product Development Timeline
Most product development timelines run several months from discovery to production handoff, depending on complexity, testing, and tooling. Simple soft goods move faster than electronics with certifications. The table below is a planning shape, not a promise; treat each range as a starting estimate to be tightened after discovery.
Phase | Typical Duration | Key Output |
Research and discovery | 2-4 weeks | Requirements brief |
Concept and selection | 3-6 weeks | Chosen concept, 3D model |
Prototyping and testing | 4-8 weeks | Tested prototype, findings |
DFM and engineering | 4-8 weeks | Production-ready drawings |
Production handoff | 2-4 weeks | Supplier package, first articles |
Plan in phases with buffers. Tooling and testing rarely run on the first estimate. A common pattern is to add a buffer at every phase boundary rather than one large buffer at the end, because a single end buffer hides slippage until it is too late to react.
What Actually Drives the Schedule
Duration is set less by the number of phases than by a handful of drivers. Name them early so the plan reflects reality:
Decision speed. The clock often runs on approvals, not design work. A concept that sits in review for three weeks costs more schedule than a week of sketching.
Testing cycles. Each usability or reliability round needs build time, test time, and analysis time. More rounds add weeks, not days.
Certification and compliance testing. Products that need safety or electromagnetic testing should budget for lab lead times and possible retest after a failure.
Tooling lead time. Mold and fixture fabrication runs on its own schedule and is a frequent source of late surprises.
Scope changes. A requirement added after concept freeze forces rework upstream. Track changes against the requirements brief so the schedule impact is visible.
Roles and Rework Loops
A typical team includes an industrial designer, a mechanical engineer, a prototype builder, and a project lead who owns the schedule and the decision gates. On smaller projects one person may wear several hats, but the decision-gate owner should be named, not assumed.
Build rework loops into the plan rather than pretending they will not happen. Prototype findings usually send the design back for refinement, and DFM findings can send it back to engineering. A realistic plan shows these loops explicitly so a failed test does not read as a schedule crisis.
Watch out: timelines built by adding up phase durations without buffers for approvals, testing, and tooling tend to slip in the last third of the project, when changes are most expensive.
For a detailed breakdown, read how long industrial design takes. To map a realistic schedule for your own product, start a project conversation with 2B Studio.
Decision Gates, Risk Management, and Lifecycle Planning
Decision gates are checkpoints where you review deliverables and choose to proceed, revise, or stop. They keep budgets honest.
Set a gate at the end of each phase. Define the pass criteria in advance. If a gate fails, you fix the issue before spending more.
Risk management runs alongside. List the biggest unknowns, rank them, and test the riskiest ones first. Sustainability and lifecycle decisions belong here too: material sourcing, repairability, and end-of-life all get cheaper to plan now than to retrofit.
Bring Your Concept to a 2B Studio Design Review
The gap between a good idea and a market-ready product is process. We built ours around clear deliverables, honest timelines, and manufacturing reality.
2B Studio offers design-driven product development, prototyping, and creative design partnerships. We balance manufacturing requirements, user experience, and marketplace demands so your product works on the shelf and on the line.
Bring us your concept and we can talk through the phases, the risks, and what each stage delivers. Start your project with 2B Studio and get a design review that tells you what to build next.
Most product ideas stall because no one defines the next deliverable. We can change that. Get started with 2B Studio and turn your concept into a tested, production-ready design.
Frequently Asked Questions
What are the steps in the industrial design process?
Most projects move through six stages: research and discovery, defining requirements and constraints, concept generation through sketching and 3D modeling, prototyping and testing, design for manufacturing, and production handoff. Each stage ends with a concrete deliverable such as a research summary, a selected concept, a tested prototype, or a manufacturing-ready drawing set. The stages overlap, but the deliverables give you clear checkpoints to approve before the next phase begins.
How long does the industrial design process take?
There is no single answer, because scope drives the schedule. A focused product with few moving parts can move from research to production-ready files in a few months, while complex assemblies with electronics, soft goods, or regulatory review take longer. The product development timeline depends on how many concept rounds you run, how many prototype iterations testing requires, and how quickly your team makes decisions at each gate. Ask for a phase-by-phase schedule with named deliverables rather than one total number.
What deliverables should you expect from an industrial design project?
Typical deliverables can include a research and requirements summary, concept sketches and renderings, 3D models, physical prototypes, and production-ready documentation. Confirm the exact deliverables with us before the project starts. Ask upfront which files transfer to you at the end, in what format, and whether your contract manufacturer can open them.
How does industrial design prepare a product for manufacturing?
The design for manufacturing phase reviews every part against the process that will make it. Designers adjust wall thickness, draft angles, tolerances, and assembly steps so the product can be built at your target volume without expensive rework. They also confirm material availability and finish options with your supplier. Involving the manufacturer early, before tooling is cut, is the cheapest way to catch problems that would otherwise surface as change orders after production starts.

Comments